



There’s something undeniably magical about chocolate-covered strawberries—that first crisp bite through glossy chocolate into a juicy, ripe berry never gets old. Whether you’re making a quick no-bake dessert for guests, planning a romantic surprise, or simply craving a sweet treat that feels a little special, this classic recipe delivers elegance with surprisingly little effort. Have you ever noticed how such a simple combination can feel instantly luxurious?
I love this recipe because it proves that you don’t need complicated steps or fancy ingredients to create a dessert that impresses. With just fresh strawberries, smooth melted chocolate, and a few easy techniques, you can transform everyday ingredients into a show-stopping treat. These homemade chocolate strawberries are versatile, beginner-friendly, and perfect for everything from casual snacking to special occasions—making them a recipe you’ll come back to again and again.
Why You’ll Love This Chocolate-Covered Strawberries Recipe
This recipe is proof that simple desserts can still feel luxurious. Chocolate-covered strawberries strike that perfect balance between effortless and elegant, making them ideal whether you’re a beginner in the kitchen or someone who loves quick, reliable treats. With just a handful of ingredients and no baking required, you get a dessert that looks impressive but feels completely approachable.
Here’s what makes this recipe a favorite you’ll return to again and again:
- Quick and no-bake: Perfect when you want a homemade dessert without turning on the oven or spending hours in the kitchen.
- Beginner-friendly: No special skills needed—just a few easy steps and straightforward techniques.
- Visually stunning: The glossy chocolate coating instantly elevates fresh strawberries into a dessert worthy of any celebration.
- Versatile for any occasion: Ideal for romantic moments, parties, holidays, or even a simple self-care treat.
- Customizable: Easily switch chocolate types or add toppings to suit your taste or theme.
What I love most is how forgiving this recipe is. Even if you’re new to melting chocolate, a few smart tips (which I’ll share later) help you achieve smooth, beautifully coated strawberries every time. It’s the kind of recipe that builds confidence—once you try it, you’ll realize just how easy it is to create a dessert that feels special without being complicated.
Ingredients
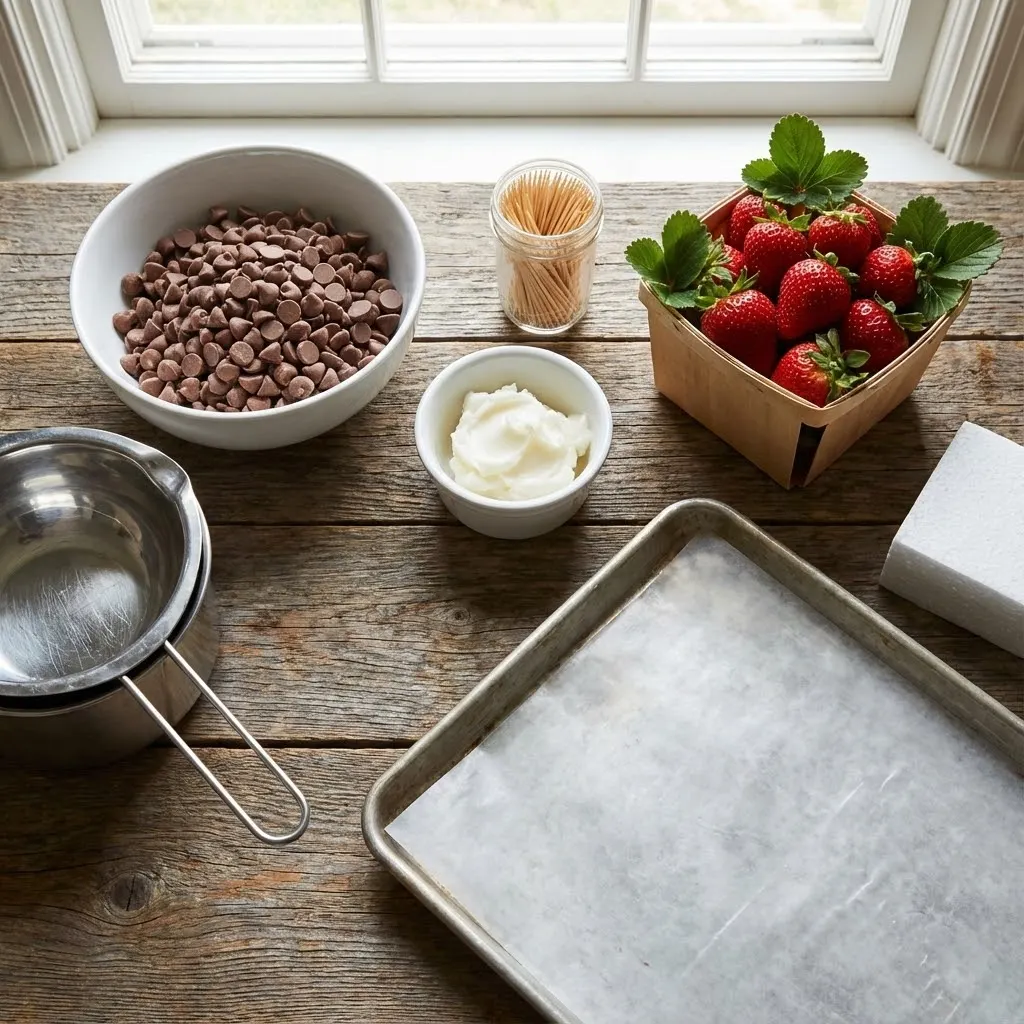
One of the best things about this recipe is how beautifully simple the ingredient list is. You only need a few basics, but each one plays an important role in achieving that smooth chocolate coating and fresh, juicy bite. Choosing quality ingredients here really makes a difference in both flavor and presentation.
Here’s what you’ll need:
- 16 ounces milk chocolate chips
Smooth, creamy chocolate creates a rich coating that pairs perfectly with fresh strawberries. Choose good-quality chocolate for the best melting results. - 2 tablespoons shortening
This helps thin the chocolate slightly, giving it a glossy finish and making it easier to dip and coat evenly. - 1 pound fresh strawberries (with leaves attached)
Look for firm, ripe strawberries with bright red color and dry, intact leaves. The leaves make dipping easier and add a classic look. - Toothpicks (for dipping)
These act as simple handles, allowing you to dip each strawberry smoothly without touching the chocolate.
Instructions
Making chocolate-covered strawberries is all about timing, temperature, and a gentle touch. Once you get the rhythm, the process feels relaxing—and surprisingly fun. Follow these steps, and you’ll end up with smooth, evenly coated strawberries every time.
- Prepare your strawberries
Wash the strawberries thoroughly and pat them completely dry with paper towels. This step is crucial—any moisture can prevent the chocolate from sticking properly. Keep the leaves on for easy handling and a polished look. - Melt the chocolate gently
Place the milk chocolate chips and shortening in a double boiler over low heat. Stir occasionally as the chocolate melts, allowing it to become smooth and glossy without rushing the process. Low, steady heat helps prevent scorching or grainy texture. - Set up for dipping
Insert a toothpick into the stem end of each strawberry. This gives you control and keeps fingerprints off the chocolate coating. - Dip and coat
Holding the toothpick, dip each strawberry into the melted chocolate, turning it gently to coat all sides evenly. Lift it out slowly and allow any excess chocolate to drip back into the bowl. - Let them set
Turn the strawberry upside down and place the toothpick into a Styrofoam block, or carefully lay the strawberry on waxed paper. Let the chocolate cool and firm up at room temperature. - Repeat and enjoy
Continue dipping until all strawberries are coated. Once set, they’re ready to serve—or admire for a moment before enjoying.
Take your time with each step, and don’t worry about perfection. Even slightly rustic strawberries taste just as delicious and still look irresistibly homemade.
Pro Tips and Variations
Once you’ve mastered the basics, a few smart tips can take your chocolate-covered strawberries from good to truly exceptional. These small details make a big difference in texture, appearance, and overall success—especially if you’re serving them for a special occasion.
Pro Tips for Perfect Results
- Dry strawberries completely: Even a little moisture can cause the chocolate to seize or slide off. After washing, let them air-dry for a few minutes if needed.
- Use low, steady heat: Chocolate melts best slowly. High heat can scorch it or make it grainy, so patience pays off here.
- Stir gently and consistently: This keeps the chocolate smooth and glossy without introducing air bubbles.
- Work in small batches: Dip a few strawberries at a time to keep the chocolate at the ideal consistency.
- Let them set at room temperature: Refrigeration can cause condensation, which dulls the chocolate’s shine.
Easy Variations to Try
- Dark or white chocolate: Swap milk chocolate for dark chocolate for a richer flavor, or white chocolate for a sweeter, decorative look.
- Double-dipped strawberries: Let the first layer set, then drizzle or dip again with a contrasting chocolate.
- Textured toppings: Before the chocolate sets, sprinkle with chopped nuts, shredded coconut, or crushed cookies.
- Flavor twists: Add a drop of vanilla extract or a pinch of espresso powder to the melted chocolate for subtle depth.
These variations make the recipe endlessly adaptable, whether you’re keeping it classic or adding a creative touch. It’s an easy way to customize the dessert while keeping the process simple and stress-free.
Serving & Pairing Suggestions
Chocolate-covered strawberries are one of those desserts that shine with minimal effort, so how you serve them can be just as simple—or as elevated—as you like. Whether you’re presenting them for a special occasion or enjoying them casually, a few thoughtful touches can make them feel extra special.
Serving Ideas
- Arrange them on a clean white plate or serving tray to let the glossy chocolate stand out.
- For gatherings, place them in mini cupcake liners for easy grabbing and a polished look.
- Stack them in a single layer rather than piling to prevent smudging or sticking.
- Serve shortly after the chocolate sets for the best texture and shine.
Perfect Pairings
- Beverages: Pair with sparkling wine, champagne, or a light dessert wine for an elegant touch. For a cozy option, coffee or hot chocolate works beautifully.
- Dessert boards: Add them to a dessert platter alongside cookies, truffles, or chocolate bark.
- Romantic occasions: These strawberries are a natural fit for date nights, anniversaries, and Valentine-style celebrations.
- Casual treats: Enjoy them as a sweet snack straight from the plate—no special occasion required.


No matter how you serve them, these strawberries have a way of feeling celebratory. Their balance of fresh fruit and rich chocolate makes them versatile enough to suit both everyday moments and memorable events.
Tools and Equipment Guide
You don’t need a fully stocked kitchen to make chocolate-covered strawberries, but having the right basic tools makes the process smoother and more enjoyable. Each item plays a small role in helping you achieve a clean dip, an even coating, and a stress-free experience.
Essential Tools
- Double boiler: The best option for gently melting chocolate without overheating. If you don’t have one, a heatproof bowl set over a pot of simmering water works just as well.
- Heat-resistant spatula or spoon: Ideal for stirring the chocolate smoothly and evenly as it melts.
- Toothpicks: These act as simple handles, giving you control while dipping and keeping the chocolate neat.
- Waxed or parchment paper: Prevents sticking and makes cleanup effortless.
- Styrofoam block or cooling rack: Useful for setting the strawberries upright while the chocolate firms.
Helpful Extras (Optional)
- Microwave-safe bowl: Handy if you prefer melting chocolate in short, controlled intervals.
- Small offset spatula or spoon: Great for smoothing chocolate or helping guide excess back into the bowl.
- Paper towels: Essential for drying strawberries thoroughly before dipping.
With these tools ready and within reach, the process feels organized and relaxed. A little preparation upfront goes a long way in ensuring your chocolate-covered strawberries turn out smooth, glossy, and picture-perfect.
Troubleshooting Common Issues
Even with a simple recipe, a few small hiccups can happen—especially when working with chocolate. The good news? Most issues are easy to fix once you know what’s causing them. Think of this section as a safety net to help you feel confident from start to finish.
Chocolate Looks Thick or Grainy
- This usually happens when chocolate is overheated or exposed to moisture.
- Keep the heat low and melt slowly, stirring gently.
- If it thickens slightly, adding a small amount of shortening can help smooth it out.
Chocolate Won’t Stick to the Strawberries
- The most common reason is moisture.
- Make sure strawberries are completely dry before dipping—pat them well and allow air-drying if needed.
- Avoid dipping cold strawberries straight from the refrigerator.
Chocolate Loses Its Shine After Setting
- This can happen if strawberries are chilled too quickly.
- Let them set at room temperature rather than refrigerating right away to preserve that glossy finish.
Uneven or Drippy Coating
- Let excess chocolate drip off for a few seconds before setting the strawberry down.
- Gently rotate the strawberry as you lift it from the chocolate for a more even coat.
Chocolate Hardens Too Quickly While Dipping
- Work in small batches and keep the chocolate over gentle heat.
- Stir occasionally to maintain a smooth, dippable consistency.
Remember, even if your strawberries aren’t perfectly smooth, they’ll still taste amazing. Small imperfections are part of the charm—and a sign they’re truly homemade.
FAQs
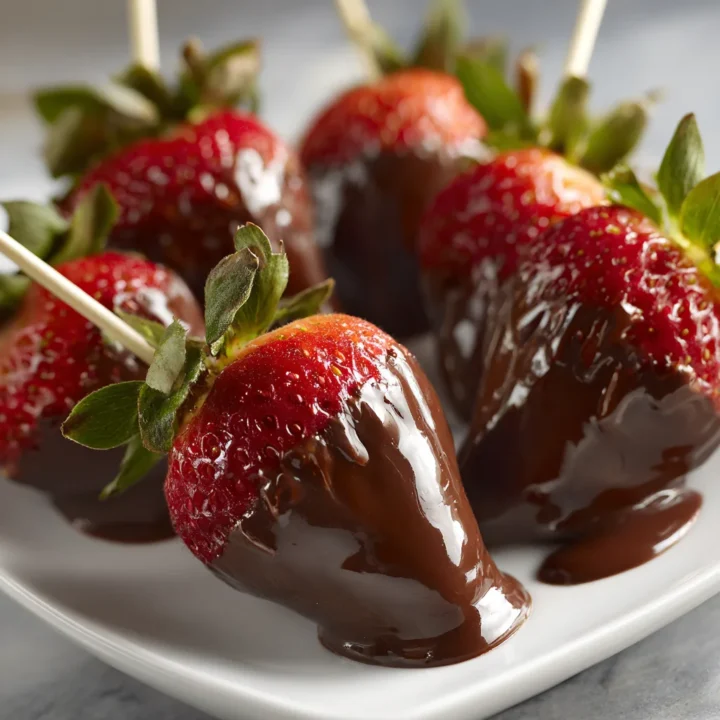
Chocolate-Covered Strawberries
This recipe is proof that simple desserts can still feel luxurious. Chocolate-covered strawberries strike that perfect balance between effortless and elegant, making them ideal.
Ingredients
- 16 ounces milk chocolate chips
- 2 tablespoons shortening
- 1 pound fresh strawberries, leaves attached
- Toothpicks (for dipping)
Instructions
- Gather all ingredients and line a tray with waxed or parchment paper.
- Wash strawberries thoroughly and dry completely. Moisture will prevent chocolate from sticking.
- Melt the chocolate chips and shortening together in a double boiler over low heat, stirring occasionally until smooth and glossy.
- Insert a toothpick into the stem end of each strawberry.
- Holding the toothpick, dip each strawberry into the melted chocolate, rotating gently to coat evenly.
- Allow excess chocolate to drip off, then place the strawberry on prepared paper or stand upright in a Styrofoam block.
- Let the chocolate set at room temperature until firm.
- Serve and enjoy.
Notes
- For best results, avoid refrigerating strawberries before dipping—room temperature fruit helps the chocolate adhere smoothly.
- If chocolate thickens while working, gently rewarm it over low heat and stir well.
- These strawberries are best enjoyed the same day but can be made up to 24 hours ahead if stored properly.
- For variation, drizzle with white or dark chocolate once the first layer sets.
Nutrition Information:
Yield: 8 Serving Size: 1Amount Per Serving: Calories: 180Total Fat: 11gSaturated Fat: 7gSodium: 25mgCarbohydrates: 22gFiber: 3gSugar: 18gProtein: 2g