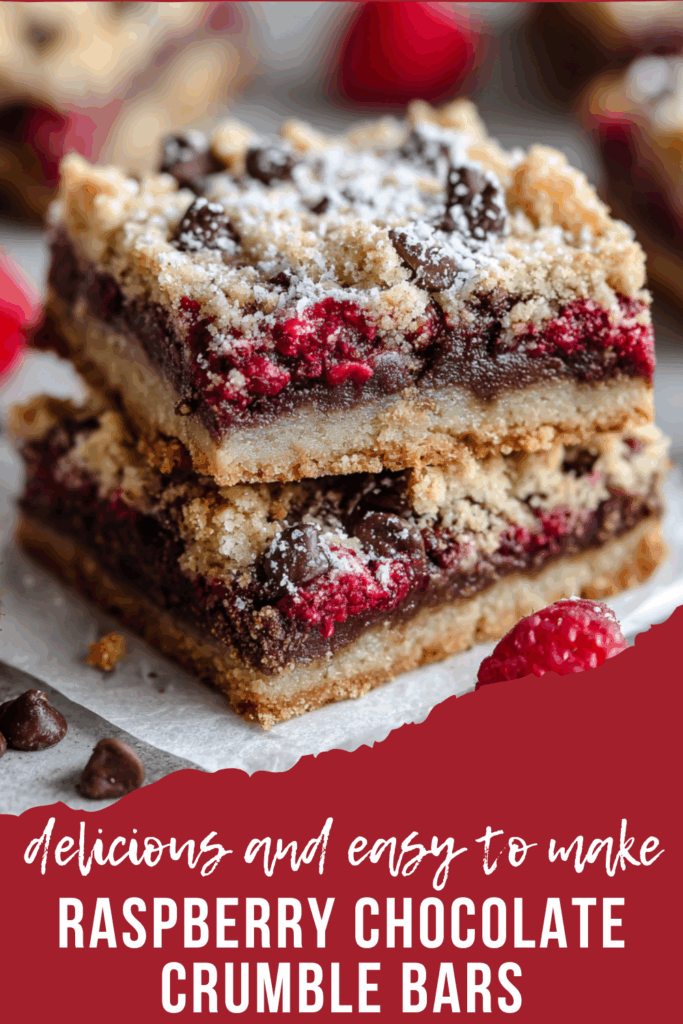
There’s something undeniably magical about the combination of sweet, juicy raspberries and rich, melty chocolate—and that’s exactly what makes these Raspberry Chocolate Crumble Bars a must-bake treat. Have you ever wanted a dessert that’s easy to make, yet impressively indulgent? These bars are the perfect answer. With a buttery, crumbly base, a tart raspberry filling, and a sprinkle of chocolate on top, every bite is a delightful balance of flavors and textures. Whether you’re planning a cozy afternoon snack, a festive treat for friends, or a family-friendly dessert everyone will love, these bars bring both comfort and elegance to the table. Plus, they’re surprisingly simple to put together—no fancy skills required, just a bit of love and the right ingredients.
Key Benefits & Why You’ll Love This Recipe
If you’re anything like me, you’re always on the lookout for desserts that are both irresistible and approachable—and these Raspberry Chocolate Crumble Bars fit the bill perfectly. Here’s why this recipe quickly becomes a favorite:
- Perfect Flavor Balance: The tartness of fresh raspberries pairs beautifully with the rich, melty chocolate, creating a flavor combination that’s sweet, tangy, and utterly satisfying.
- Buttery, Crumbly Texture: The base and crumble topping are soft yet crisp, offering that homemade, rustic charm in every bite. It’s the kind of texture that makes you reach for a second (or third!) square without hesitation.
- Quick and Simple Prep: Despite looking like a dessert you’d find in a fancy bakery, these bars are surprisingly easy to assemble. With straightforward steps and common kitchen ingredients, you can have a show-stopping treat in under an hour of hands-on work.
- Versatile and Crowd-Pleasing: Whether you’re baking for a family gathering, afternoon tea, or a festive celebration, these bars appeal to both kids and adults. They’re also a make-ahead dessert, perfect for when you want something ready to serve without last-minute stress.
- Customizable and Fun to Experiment With: Love extra chocolate? Sprinkle more chips on top. Prefer a nutty twist? Add chopped almonds or walnuts. These bars are a canvas for your culinary creativity.
Baking isn’t just about following steps—it’s about creating moments that bring joy, whether you’re sharing them with loved ones or savoring a quiet treat yourself. This recipe invites you to enjoy the process, from pressing the buttery crumble into the pan to lifting out the finished bars and marveling at those gooey, chocolate-studded raspberry layers.
By the time you taste your first bite, you’ll see why these homemade raspberry dessert bars quickly become a go-to recipe for any occasion.
Ingredients for Raspberry Chocolate Crumble Bars
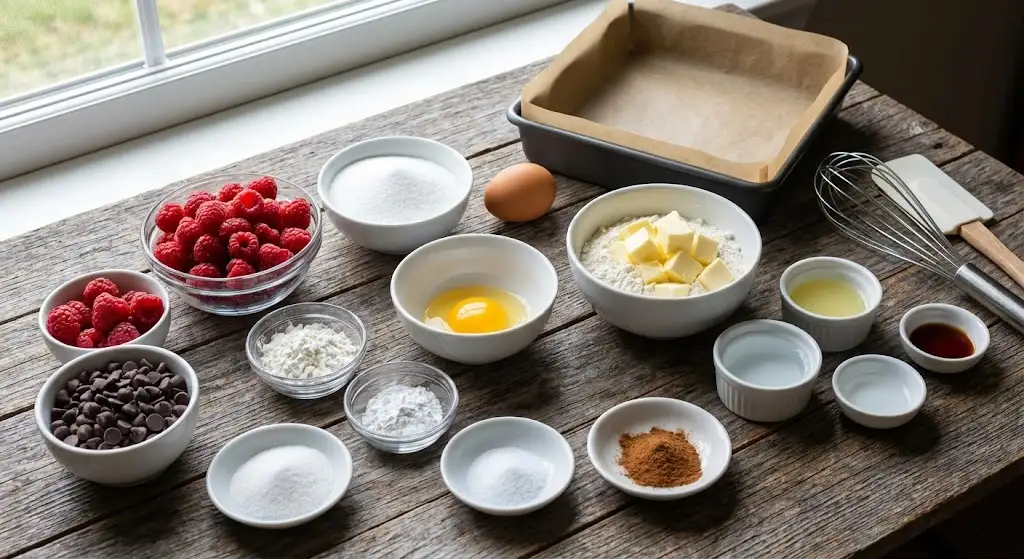
Before you start baking, it’s important to have everything ready. This recipe keeps things simple while delivering maximum flavor and texture.
Raspberry Filling Ingredients
- 2 cups fresh raspberries
- 2 tsp cornstarch
- 1 Tbsp lemon juice
- ¼ cup granulated sugar
Crumble Base & Topping Ingredients
- 1½ cups all-purpose flour
- ½ cup granulated sugar
- ½ tsp baking powder
- ¼ tsp salt
- ½ tsp ground cinnamon
- ½ cup unsalted butter, cold and cut into cubes
- 1 large egg yolk
- 1 Tbsp water
- 1 tsp vanilla extract
- ¾ cup chocolate chips (dark, milk, or semi-sweet)
Pro Tip: For the best results, use fresh, ripe raspberries—they provide the perfect balance of tartness and sweetness. If fresh berries aren’t available, frozen raspberries work too; just make sure to thaw and drain excess liquid before using to avoid soggy bars.
How to Make Raspberry Chocolate Crumble Bars
Baking these bars is easier than it looks, and following these steps will help you achieve that perfect buttery, crumbly texture with a luscious raspberry filling.
1. Prep the Pan
- Preheat your oven to 350°F (175°C).
- Lightly grease an 8-inch square pan and line it with parchment paper, leaving an overhang for easy lifting.
- Spray the parchment lightly to prevent sticking.
2. Make the Raspberry Filling
- In a medium bowl, gently toss fresh raspberries with cornstarch, lemon juice, and sugar until evenly coated.
- Set aside and let the flavors meld while you prepare the crumble base.
3. Make the Crumble Base & Topping
- In a separate bowl, whisk together flour, sugar, baking powder, salt, and cinnamon.
- Add the cold butter cubes and rub them into the flour mixture with your fingertips or a pastry cutter until it resembles coarse crumbs with no large butter chunks.
- Mix in the egg yolk, water, and vanilla extract until the dough comes together.
4. Assemble the Bars
- Press about two-thirds of the dough evenly into the bottom of the prepared pan to form the base.
- Spread the raspberry mixture on top, ensuring even coverage.
- Sprinkle chocolate chips over the raspberry layer.
- Crumble the remaining dough over the top for a rustic, homemade look.
5. Bake
- Bake for 40–50 minutes, or until the top is golden and the raspberry filling is bubbling.
- Remove from the oven and allow the pan to cool completely (2–3 hours). For quicker cooling, let rest 1 hour at room temperature, then refrigerate.
6. Serve and Enjoy
- Lift the bars out of the pan using the parchment overhang.
- Transfer to a cutting board and slice into squares.
- Enjoy as-is or slightly chilled for a refreshing treat.
Pro Tip: For clean slices, use a sharp knife and wipe it between cuts to prevent the raspberry juices from smearing.
Pro Tips and Variations for Perfect Raspberry Chocolate Crumble Bars
Even a simple recipe can shine with a few smart tips and creative twists. These suggestions will help you bake like a pro and customize your bars to your taste.
Pro Tips for Perfect Bars
- Cold Butter is Key: Using cold butter ensures a crumbly, flaky texture in both the base and topping. Avoid softening it unless you want a softer, less structured crumble.
- Don’t Overmix: When combining the dough, mix just until it comes together. Overmixing can make the crumble dense instead of light and buttery.
- Adjust Sweetness to Taste: If your raspberries are very tart, consider adding a bit more sugar to the filling for a balanced flavor.
- Quick Cooling Hack: To speed up the cooling process, let the bars rest at room temperature for an hour, then refrigerate for an additional hour. This makes slicing cleaner and easier.
- Chocolate Choices: Dark chocolate adds a rich contrast to the tart berries, while milk chocolate creates a sweeter, creamier bite. Choose based on your preference.
Recipe Variations to Try
- Nutty Twist: Fold in chopped almonds, pecans, or walnuts into the crumble for extra crunch.
- Berry Medley: Mix in blueberries or blackberries with the raspberries for a colorful, flavor-packed filling.
- Gluten-Free Option: Swap all-purpose flour for a gluten-free blend to make the bars accessible for everyone.
- Vegan Adaptation: Replace butter with coconut oil and use a flax egg (1 Tbsp ground flax + 3 Tbsp water) to make a plant-based version.
These tips and variations let you personalize your bars, ensuring they’re just right for your taste or the occasion. Baking should be fun, and experimenting with flavors is part of the joy!
Serving & Pairing Suggestions
These Raspberry Chocolate Crumble Bars are delicious on their own, but pairing them thoughtfully can elevate your dessert experience. Here are some ideas to inspire you:
Serving Ideas
- Slightly Chilled: Refrigerate for an hour before slicing to get neat, firm squares.
- Room Temperature: Perfect for immediate indulgence with a soft, gooey texture.
- With Ice Cream: Serve warm bars with a scoop of vanilla or chocolate ice cream for a decadent dessert.
- Dust with Powdered Sugar: A light dusting adds a pretty finishing touch for presentation.
Beverage Pairings
- Coffee or Espresso: The rich chocolate and tart raspberry flavors pair beautifully with a bold cup of coffee.
- Tea: Try herbal teas like chamomile or fruity blends to complement the berry notes.
- Milk or Hot Chocolate: Classic and comforting, especially for kids or a cozy afternoon treat.
Occasion Suggestions
- Family Gatherings: Easy to make in batches and perfect for sharing.
- Picnics & Potlucks: Bars travel well, making them an ideal dessert for outdoor events.
- Holiday Treats: Add a festive flair by sprinkling crushed nuts or a drizzle of white chocolate over the top.
With these serving and pairing ideas, you can turn simple homemade crumble bars into a show-stopping dessert experience that’s sure to impress anyone at the table.
Tools and Equipment Guide
Having the right tools on hand makes baking these Raspberry Chocolate Crumble Bars easier and more enjoyable. Here’s a list of essentials to ensure a smooth process:
Baking Essentials
- 8-inch Square Baking Pan: Perfect for even baking and easy slicing.
- Parchment Paper: Allows you to lift the bars out effortlessly without sticking.
- Non-Stick Cooking Spray: Helps prevent the parchment from sliding and ensures clean removal.
Mixing & Prep Tools
- Medium and Large Bowls: For mixing the filling and crumble dough separately.
- Pastry Cutter or Fork: Ideal for cutting butter into flour to create a coarse, crumbly texture.
- Whisk: For blending dry ingredients evenly.
- Measuring Cups and Spoons: Accurate measurements make all the difference in baking.
Finishing & Serving Tools
- Sharp Knife: For clean, precise slices.
- Cutting Board or Serving Platter: Makes presentation easy and attractive.
- Spatula or Spoon: For spreading the raspberry filling evenly.
Pro Tip: Using a good-quality butter and fresh raspberries paired with these tools ensures your bars have the perfect crumbly texture and vibrant flavor every time.
Troubleshooting Common Issues
Even experienced bakers run into small hiccups sometimes. Here’s how to avoid and fix common problems when making Raspberry Chocolate Crumble Bars:
1. Bars Are Too Soggy
- Cause: Excess liquid from raspberries or underbaked crumble.
- Solution: Use fresh or well-drained frozen raspberries. Bake until the filling bubbles and the top is golden. Allow bars to cool completely to set before slicing.
2. Crumble Topping Is Too Dense
- Cause: Overmixing the dough or using softened butter.
- Solution: Keep butter cold and cut into small cubes. Mix just until the dough comes together—small crumbs in the topping are perfect.
3. Raspberry Filling Spills Over
- Cause: Too thin or overly juicy filling.
- Solution: Toss berries with cornstarch before layering. Ensure even distribution and avoid pressing down too hard on the crumble top.
4. Chocolate Chips Sink or Melt Too Much
- Cause: Layering chocolate directly on a very hot filling or overbaking.
- Solution: Sprinkle chips evenly over the filling, then add the remaining crumble on top. Remove bars from the oven as soon as the top turns golden.
5. Bars Stick to Pan
- Cause: Insufficient greasing or parchment use.
- Solution: Line the pan with parchment paper and spray lightly to ensure the bars lift out cleanly.
By following these tips, you can confidently bake perfectly textured, flavorful bars every time—turning common mistakes into opportunities for learning and improvement.
FAQs About Raspberry Chocolate Crumble Bars
1. How should I store these bars?
Store cooled bars in an airtight container at room temperature for up to 3 days. For longer storage, keep them in the refrigerator for up to a week, or freeze for up to 2 months.
2. Can I use frozen raspberries instead of fresh?
Yes! Just thaw and drain excess liquid before using to prevent soggy bars. The flavor remains just as delicious.
3. Can I make these bars gluten-free?
Absolutely! Substitute the all-purpose flour with a gluten-free flour blend that measures cup-for-cup for best results.
4. Can I make a vegan version of these bars?
Yes. Use coconut oil instead of butter and a flax egg (1 Tbsp ground flax + 3 Tbsp water) in place of the egg yolk.
5. How do I get clean, neat slices?
Use a sharp knife and wipe it between cuts. Chilling the bars for an hour before slicing helps keep the layers intact.
6. Can I add other berries or mix-ins?
Definitely! Blueberries, blackberries, or chopped nuts can be added to the filling or topping for a flavorful twist.
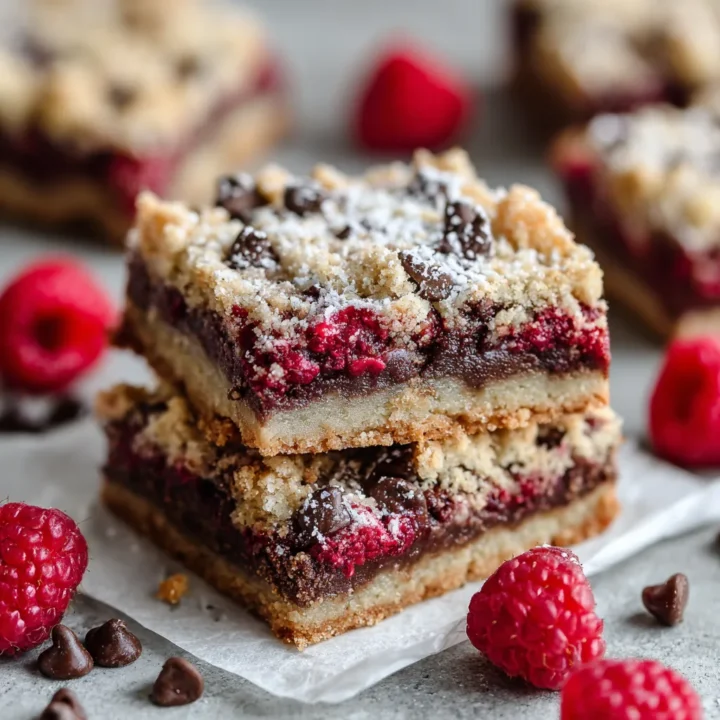
Raspberry Chocolate Crumble Bars
If you’re anything like me, you’re always on the lookout for desserts that are both irresistible and approachable—and these Raspberry Chocolate Crumble Bars fit the bill perfectly. Here’s why this recipe quickly becomes a favorite:
Ingredients
Raspberry Filling:
- 2 cups fresh raspberries
- 2 tsp cornstarch
- 1 Tbsp lemon juice
- ¼ cup granulated sugar
Crumble Base & Topping:
- 1½ cups all-purpose flour
- ½ cup granulated sugar
- ½ tsp baking powder
- ¼ tsp salt
- ½ tsp ground cinnamon
- ½ cup unsalted butter, cold and cubed
- 1 large egg yolk
- 1 Tbsp water
- 1 tsp vanilla extract
- ¾ cup chocolate chips (dark, milk, or semi-sweet)
Instructions
- Prep the Pan: Preheat oven to 350°F (175°C). Lightly grease an 8-inch square pan and line with parchment paper with an overhang.
- Make the Raspberry Filling: Toss raspberries with cornstarch, lemon juice, and sugar. Set aside.
- Make the Crumble: Whisk flour, sugar, baking powder, salt, and cinnamon. Rub in cold butter until coarse crumbs form. Mix in egg yolk, water, and vanilla until dough comes together.
- Assemble: Press 2/3 of the dough into the pan. Spread raspberry mixture on top. Sprinkle chocolate chips, then crumble remaining dough over the filling.
- Bake: Bake 40–50 minutes until golden and filling bubbles. Cool 2–3 hours (or 1 hour room temperature then refrigerate).
Serve: Lift bars out with parchment, slice into squares, and enjoy as-is or slightly chilled.
Notes
- Cold Butter: Keeps the crumble light and flaky.
- Drain Frozen Berries: Prevent soggy bars if using frozen raspberries.
- Chill Before Slicing: Ensures clean, neat squares.
- Flavor Variations: Add nuts, other berries, or adjust chocolate type for a personal twist.
Nutrition Information:
Yield: 16 Serving Size: 1Amount Per Serving: Calories: 220Total Fat: 11gSaturated Fat: 6gCholesterol: 30mgSodium: 80mgCarbohydrates: 29gFiber: 2gSugar: 16gProtein: 3g
Pin This For Later!